Hello guys.
Recently, I’ve been creating smooth normal maps from high poly models, and I’ve started to notice that saving them directly in 8 bit generates a lot of banding. So I wanted to save them in 16 bit directly and then dither down to 8, but the texture was brighter than it should be.
Here’s this small tutorial, thanks to plasticmind, who helped me with the part of fixing the gamma levels of the texture before dithering it down to 8 bit. This makes the texture dithered instead of banded. If you prefer banded, don’t do this, but if you prefer dithering to ugly banding, keep reading.
WARNING: Don’t do this if you’re not sure if your texture is 16 bit, else you could potentially screw it up.
UPDATE: Sadly, I’ve had some problems with normal maps causing seams using this method. If you get seams doing this, you’ll have to directly bake to 8.
First step, let’s say that you already have your texture baked, in my case it’s a normal map baked from a high poly model to the low poly model I’ll use in the game:
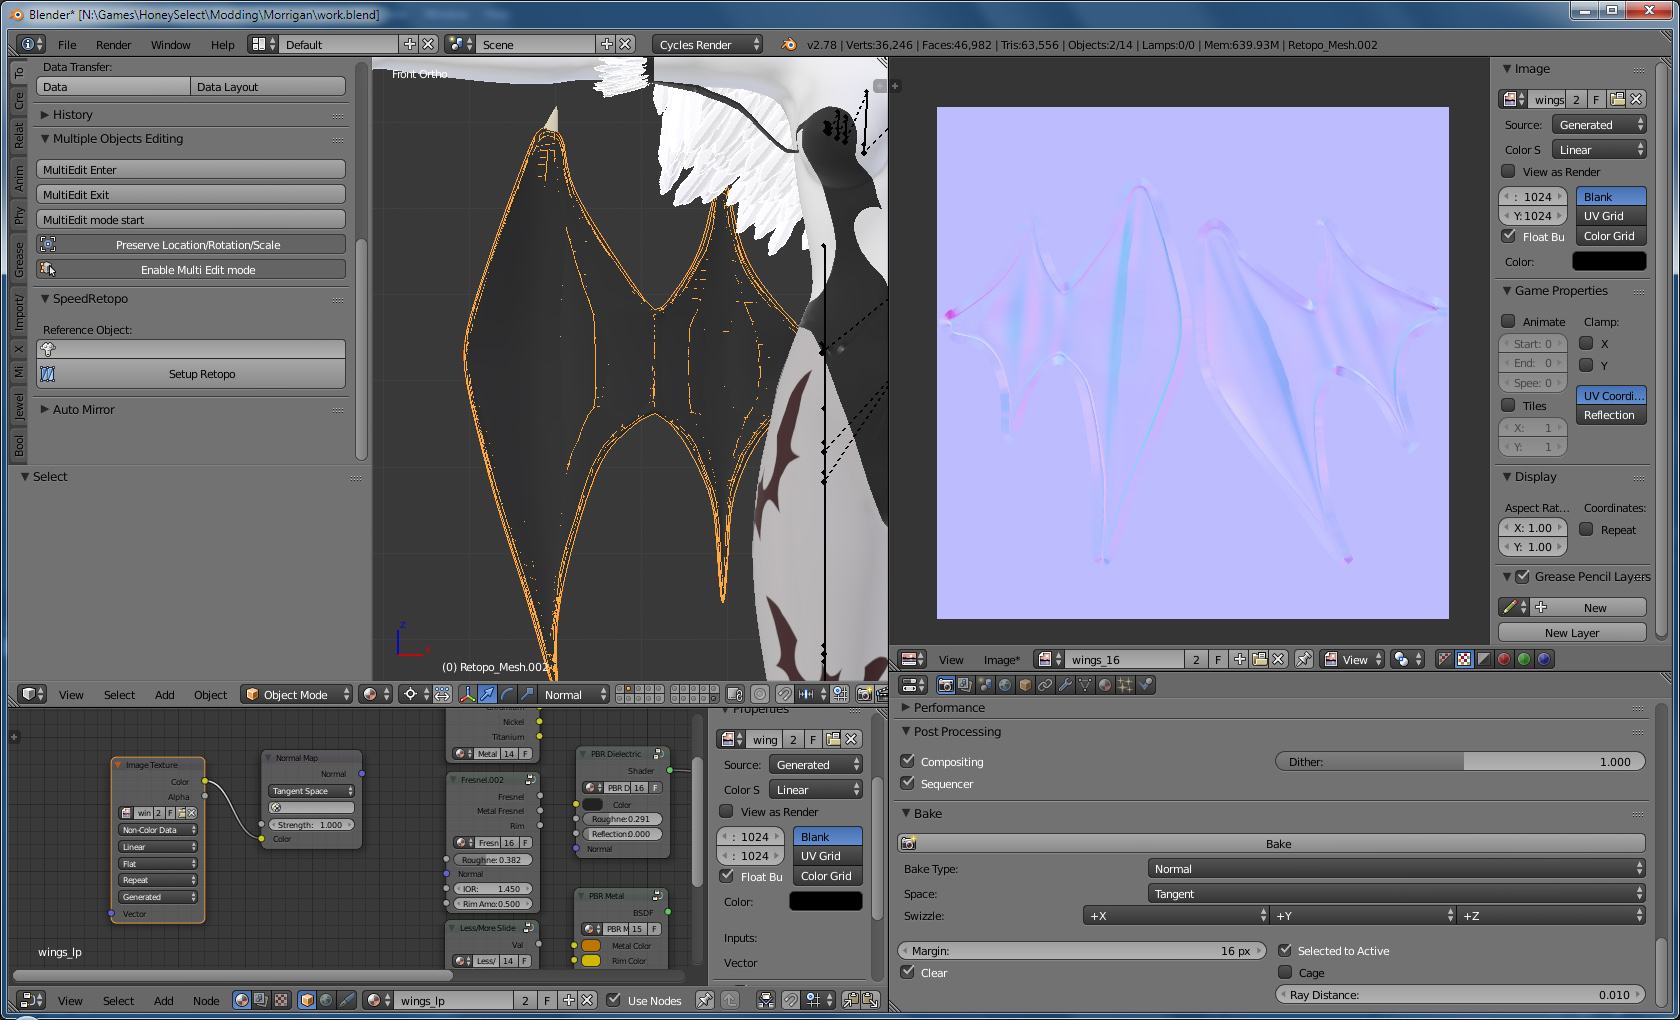 Notice that float buffer is enabled, and the color space is set to Linear. This creates a rather smooth, nice texture. However, we can’t directly use this, because 16 bit textures are way heavier than 8 bit ones. And most renderers don’t even support them I think, I don’t even know if Unity does.
Also, the texture’s gamma is too high, the texture looks too bright.
So, we want to dither it down to 8 bit and set the brightness down.
First, save the texture to a 16 bit tiff:
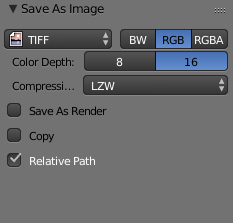 Note that 16 will be automatically selected if it’s a linear color space texture.
Set compression to whatever you want, it’s all lossless and we won’t be using it ingame anyways.
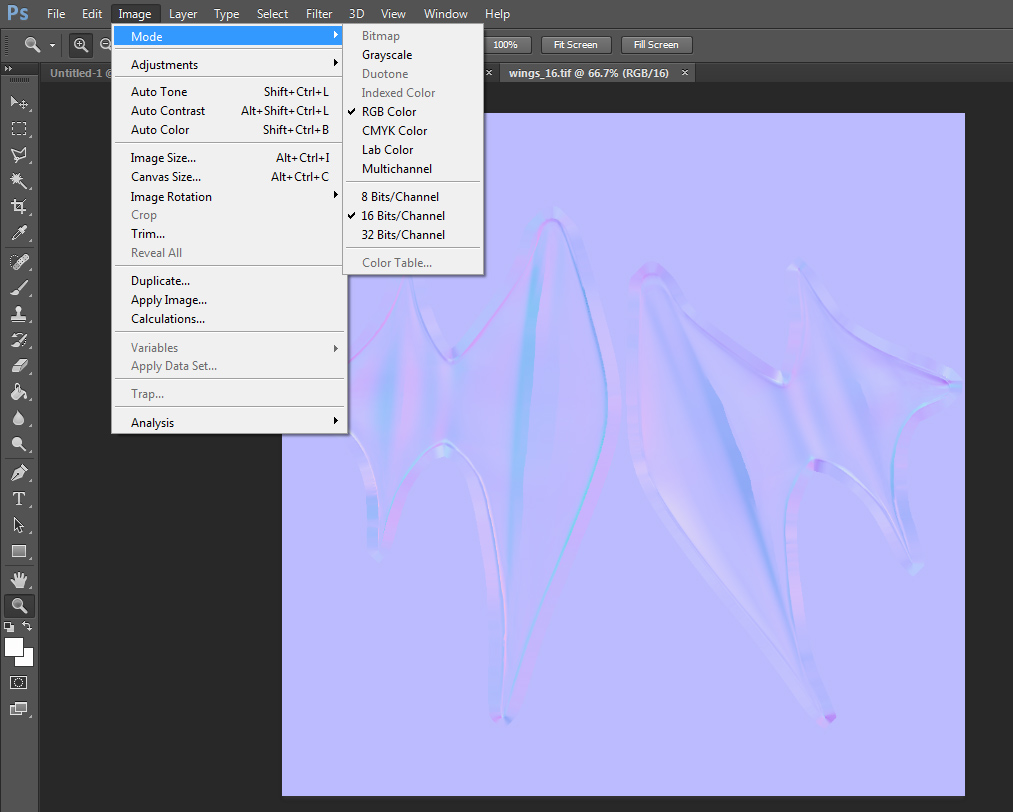
Now open the texture in Photoshop. If you go to Image->Mode, you’ll notice that 16 bits is ticket. That’s because it’s a 16 bit texture, what we wanted.
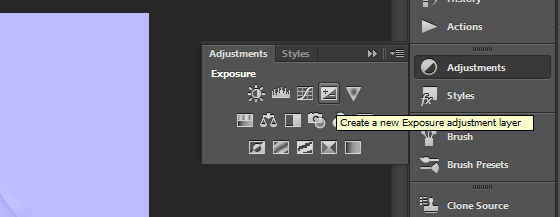
Now go create an exposure adjustment layer:
 Set it like this:
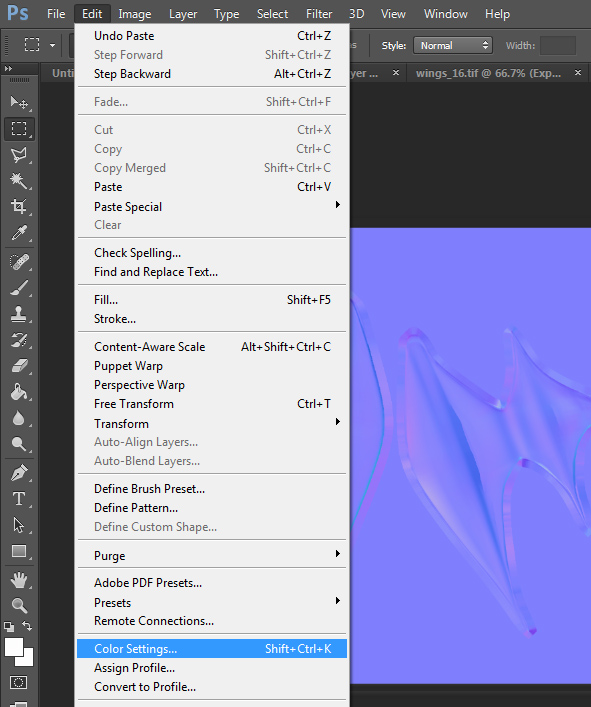
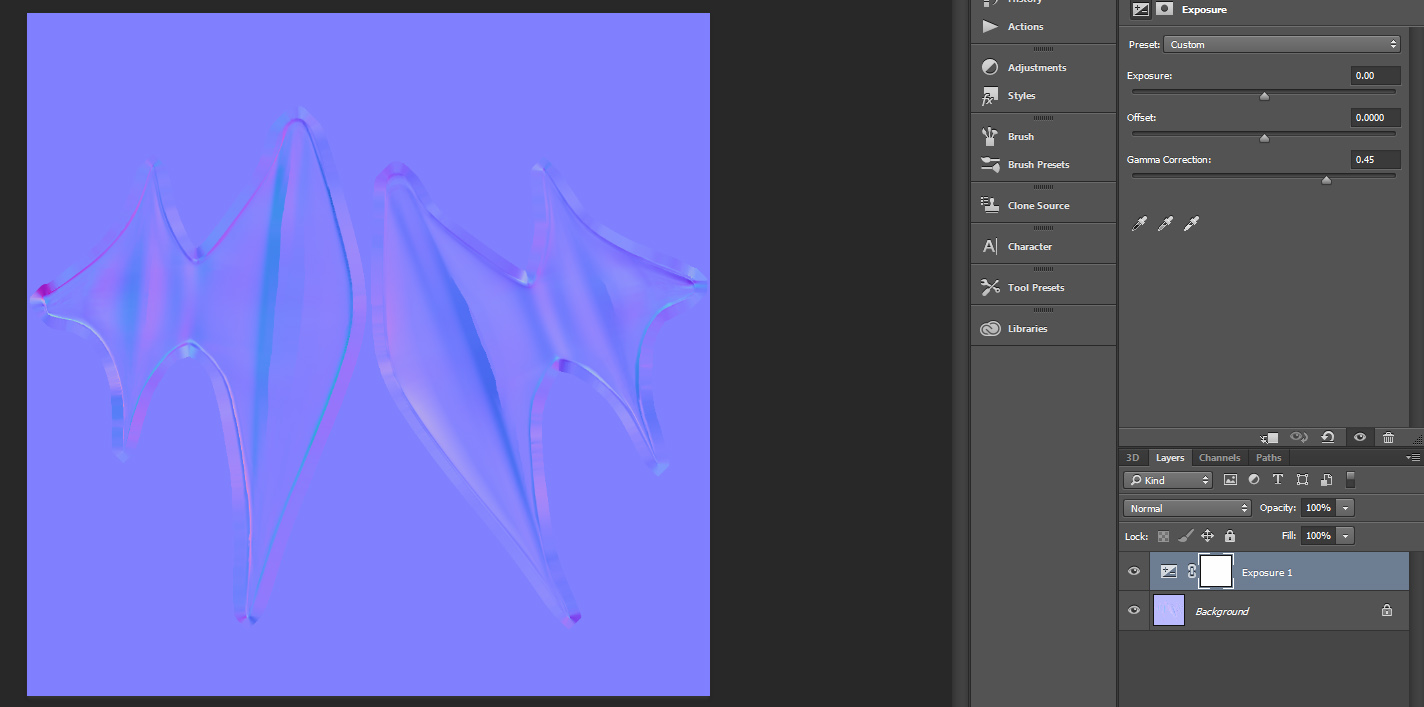 See how it now looks like a proper normal map? (ignore the shitty seam there, that’s because of my ray distance, already fixed). Good, now flatten the image, and make sure that you’ve enabled dithering for 8 bit textures. Go to Edit->Color Settings…
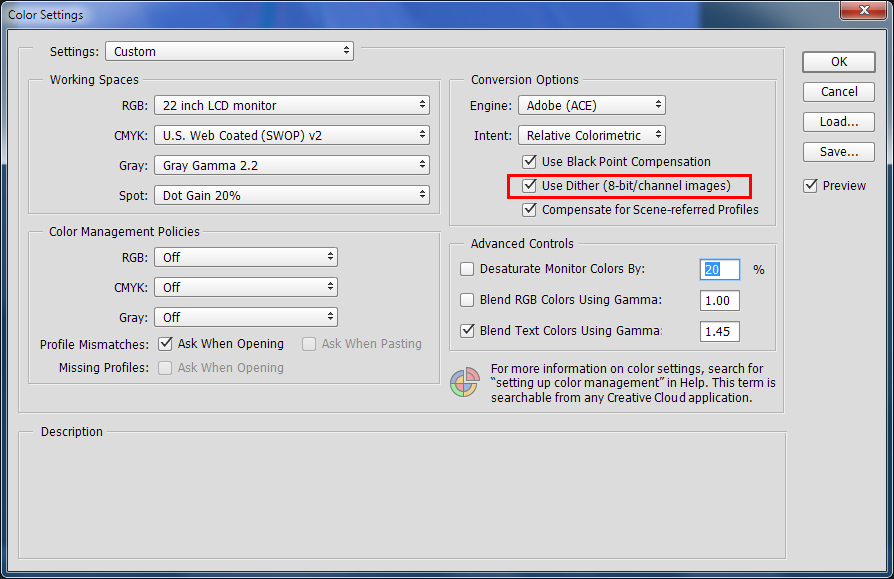
 And make sure that dithering is enabled:
 Now we convert the texture to 8 bits:
 And that’s it. Now you treat it like you’d treat any other texture, depending on what map type it’s supposed to be (if it’s a normal map like this one for example, you want to move the red channel to alpha).
Comments are closed.